
If you’re just starting out on your pottery journey, you might find the array of pottery terms a bit overwhelming. I remember feeling like everyone in the pottery world spoke a secret language that I had never heard of. Although this language is very helpful to those familiar with it, it can create barriers for newcomers who are eager to explore this beautiful craft.
The last thing we want is for pottery to feel like an exclusive club. We want everyone, regardless of their skill level, to feel welcomed and empowered to dive into creating with clarity. So, let’s break down some of these terms.
Throwing
Let’s start with ‘throwing’, a term that you’re bound to encounter early on. Contrary to what the name suggests, it has nothing to do with flinging clay across a room. Throwing involves shaping clay on a spinning wheel to create various forms and vessels.
While we’re at it, the ‘form’ is just the shape/ structure of a ceramic piece.
Handbuilding
Handbuilding refers to techniques used to shape clay by hand, without the aid of a wheel. Some handbuilding techniques include pinching, coiling, and slab building (which we will cover in another blog). Molding clay with your hands, in this way, can be very mindful and therapeutic so this approach holds a particularly special place in my heart. It offers endless possibilities for creativity and expression.
Wedging
Wedging is like the warm-up routine for clay. It’s the process of kneading and preparing the clay to remove air bubbles and ensure an even consistency.
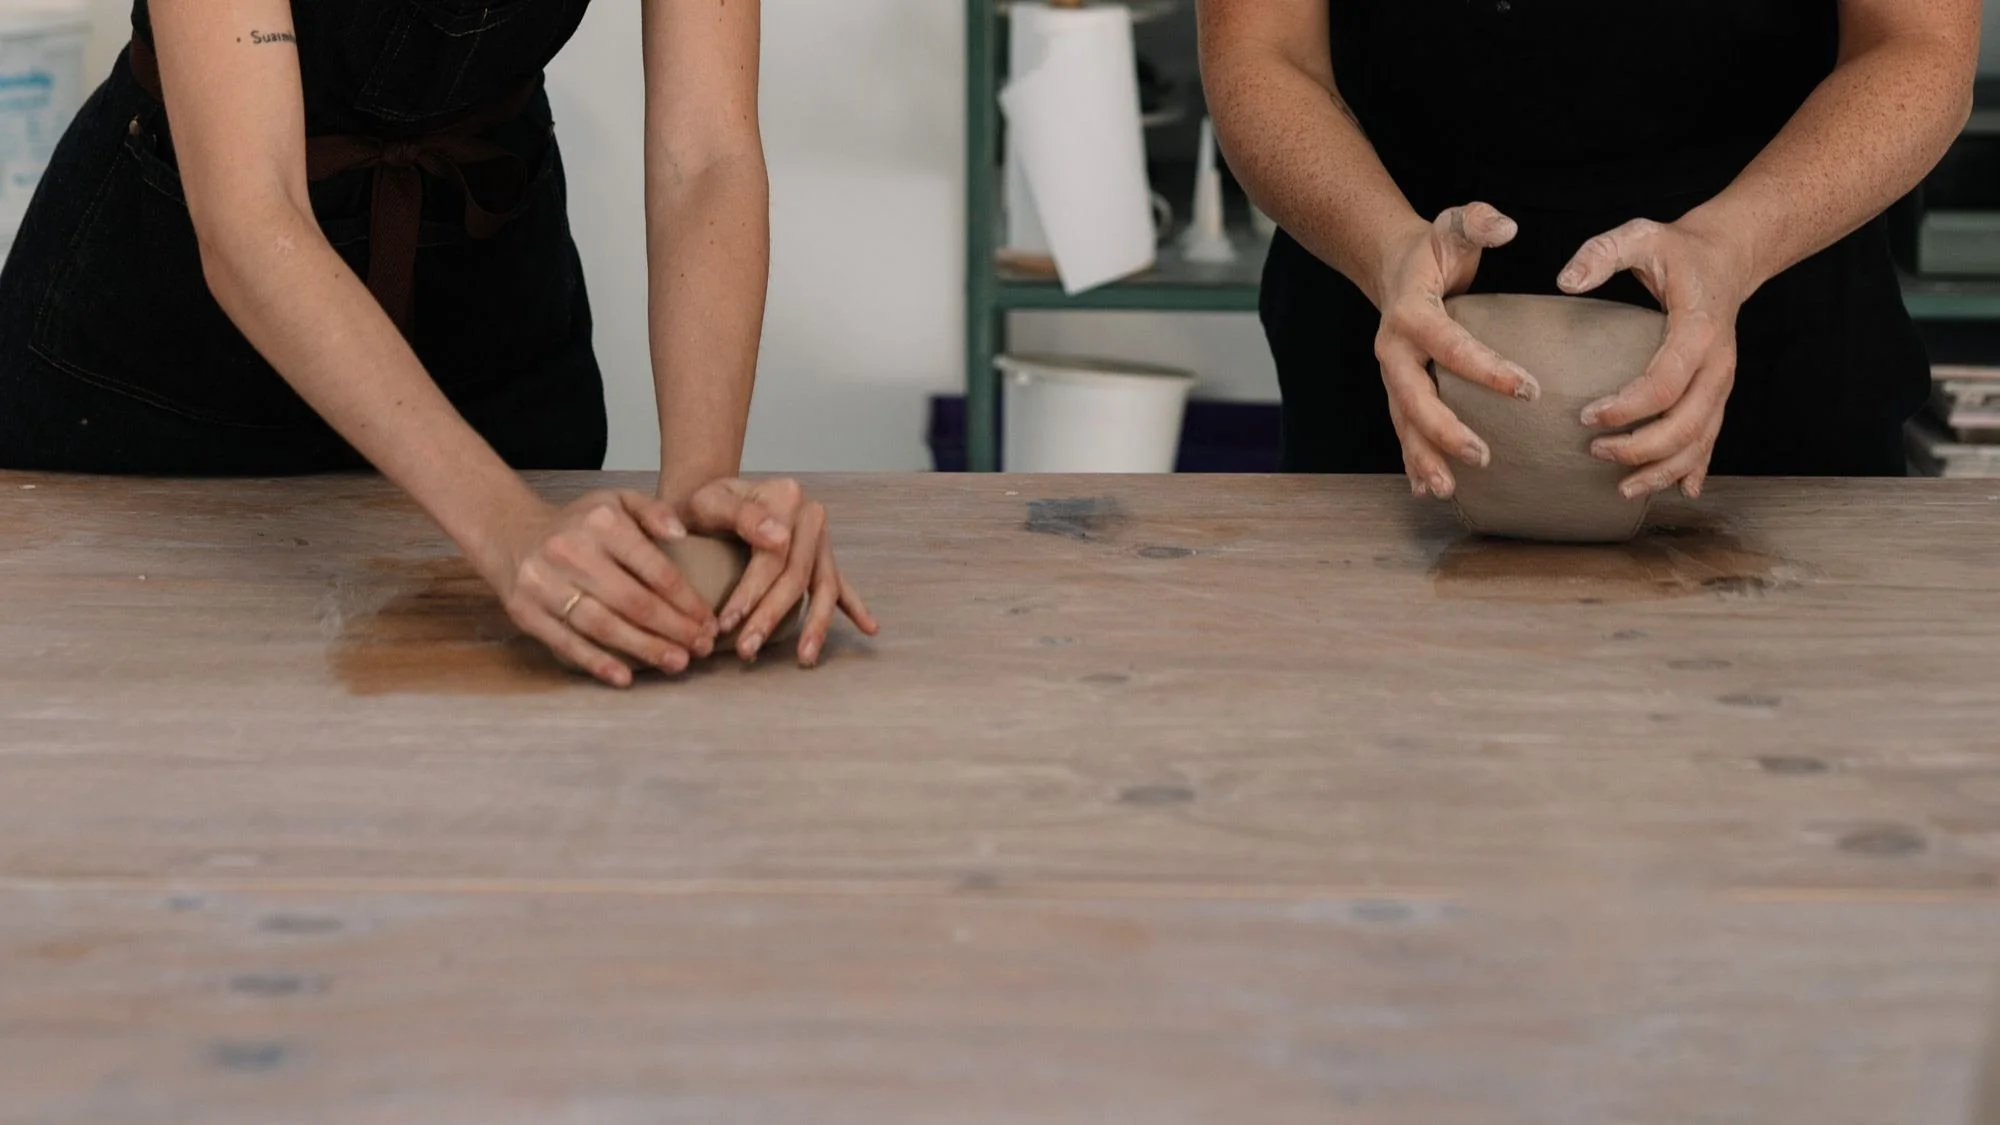
Potters wedging clay
Centering
Centering is a fundamental skill in wheel throwing. It’s the process of positioning a lump of clay in the very center of the wheel, using pressure and speed, to enable us to create a symmetrical and balanced form. Think of it as the cornerstone of successful wheel throwing.
Trimming
Once your clay creation has dried about half way, you may decide to carve away excess clay to refine its shape and appearance. Trimming tools are used to carefully sculpt, remove excess clay and smooth the surface of a piece. By trimming we can add finer details, remove excess weight to make a piece lighter and even out the thickness of the walls.
Turning
Generally potters will use the words ‘trimming’ and ‘turning’ interchangeably. In contexts where a distinction is made, turning refers to a piece that is carved on the wheel, specifically, while it is turning. Trimming, however, can refer to the carving away of excess clay in both a wheel throwing and handbuilding setting.
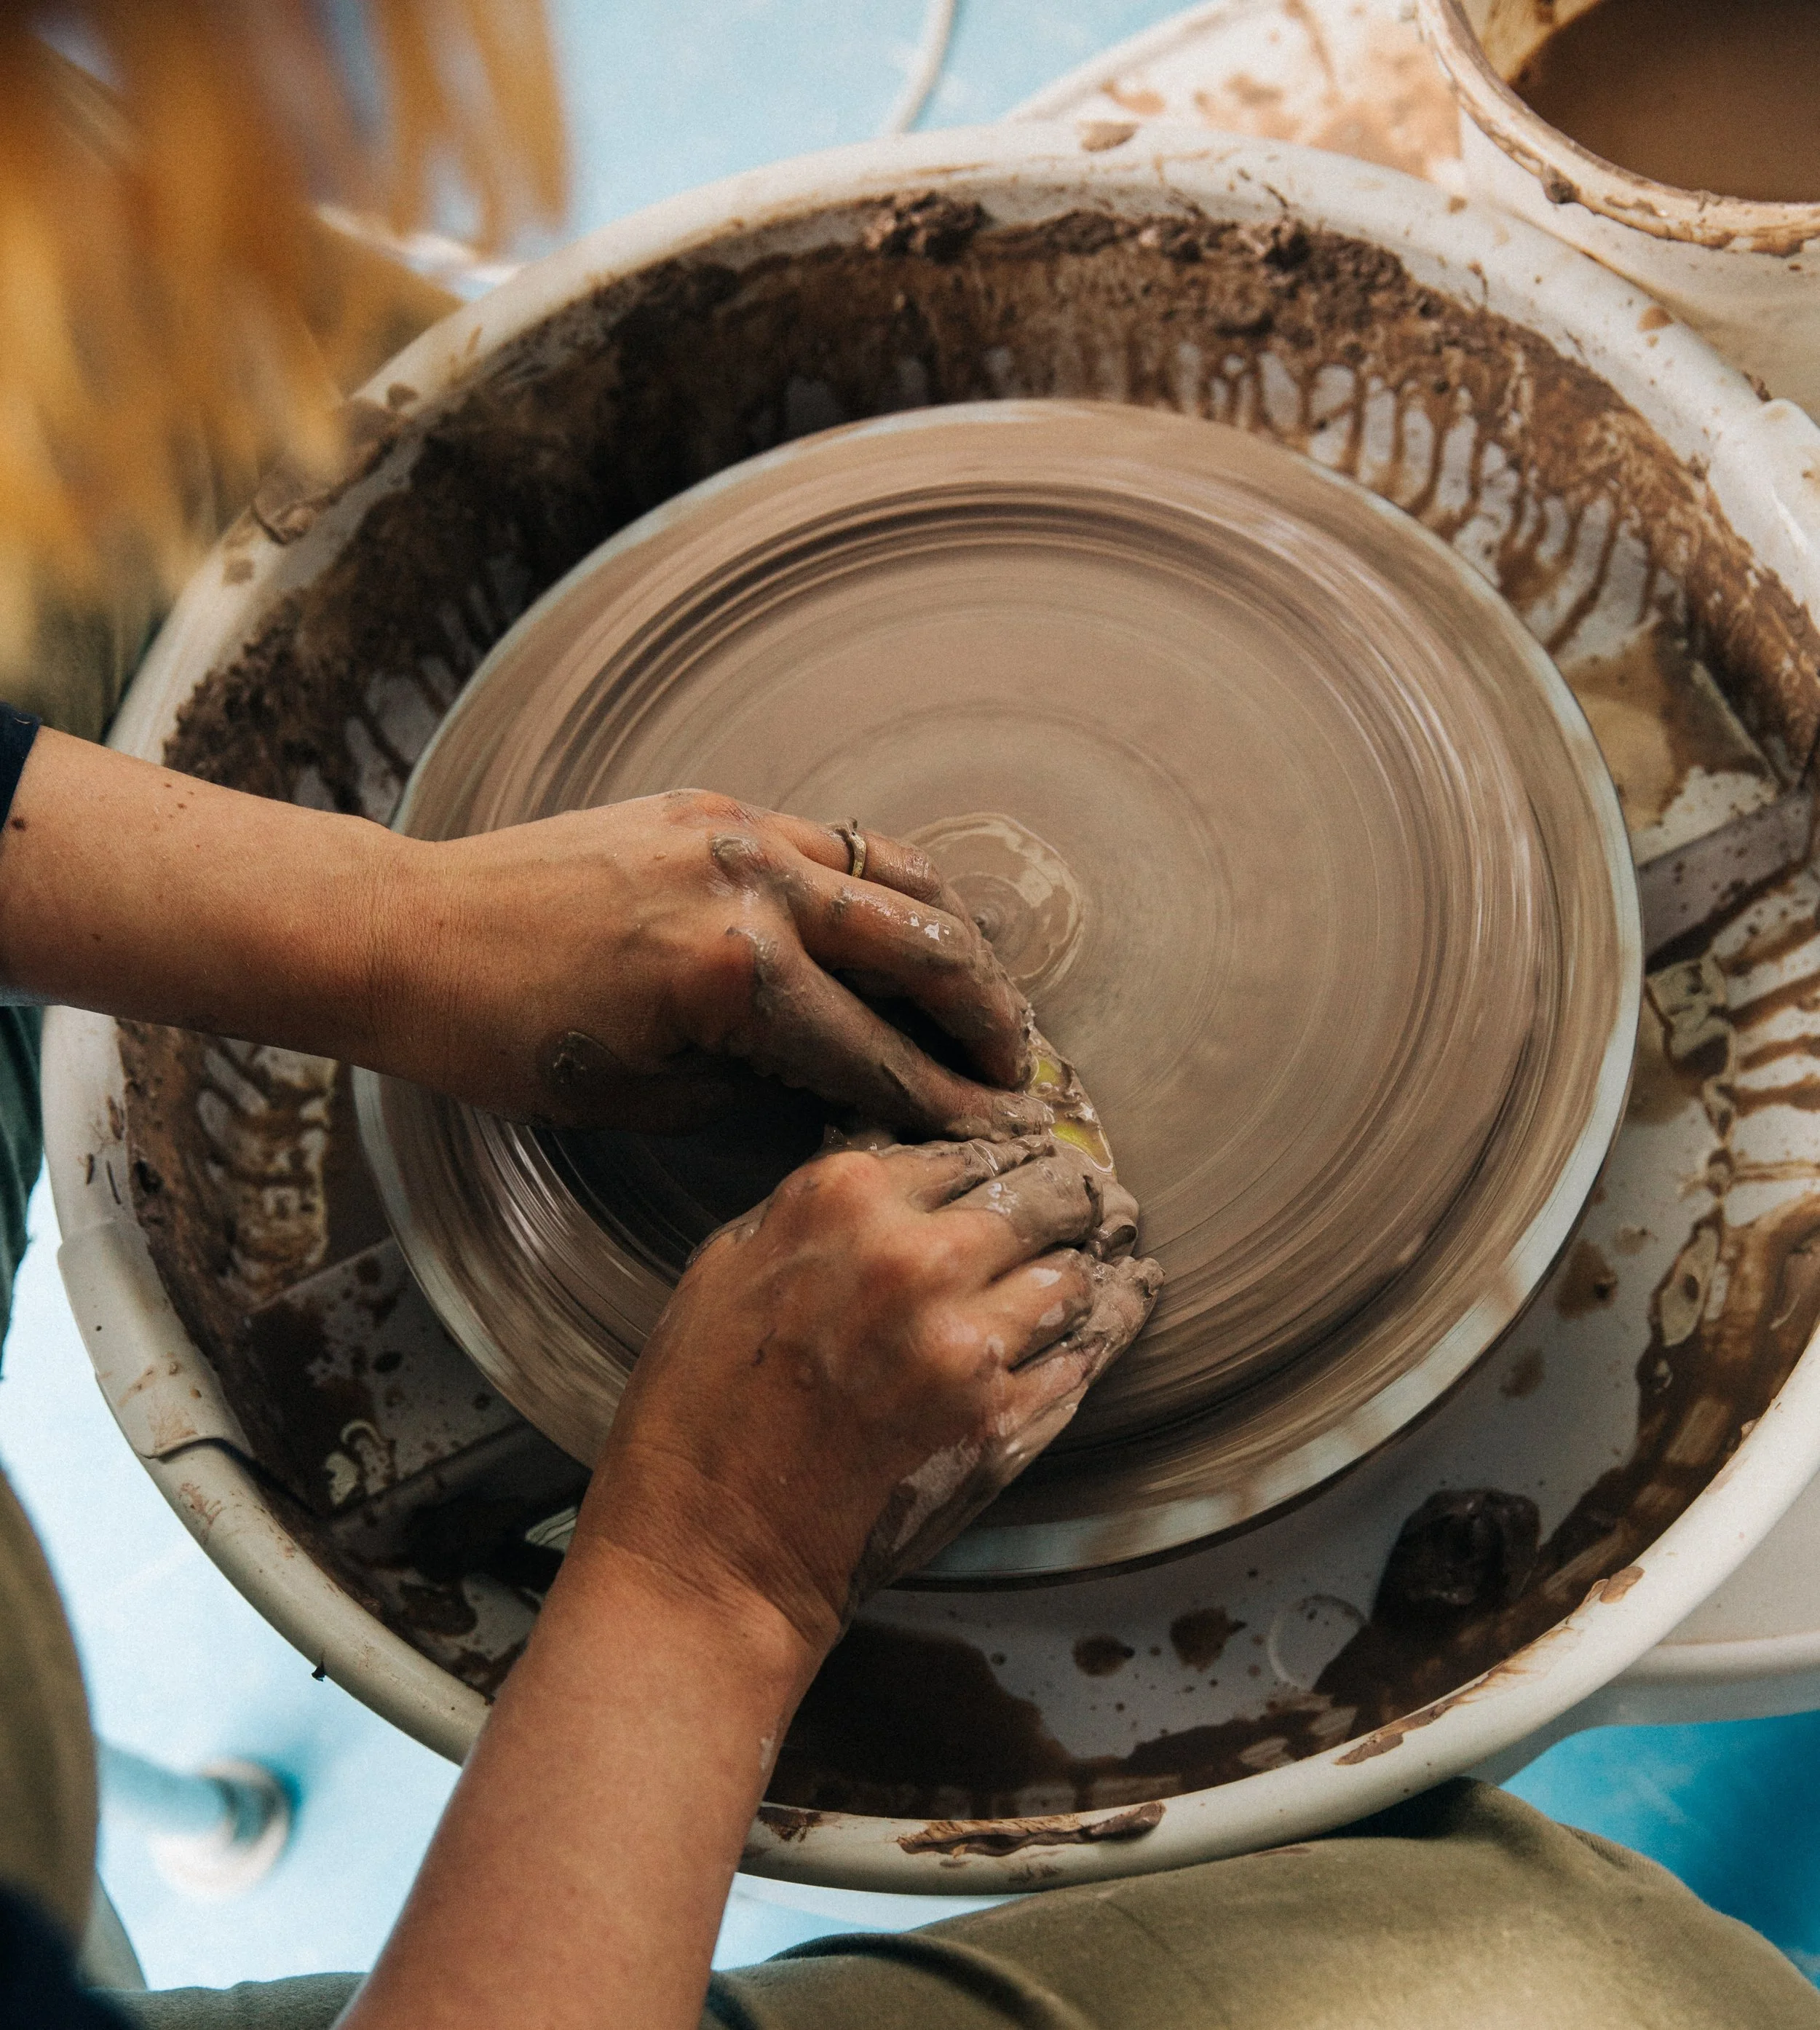
Throwing clay on the wheel – making a plate!
Slip
Slip is a liquid clay mixture used for joining pieces of clay together or for decorating surfaces. It acts like glue, creating strong bonds between clay pieces or adding decorative elements to your unique creations.
Scoring
When joining clay pieces together, scoring is essential for creating a strong bond. It involves making shallow cuts or scratches in the clay surface, before applying slip, to ensure a secure connection between the pieces.
Glazing
Glazing involves applying a glassy coating, composed of minerals and oxides, to your work. When fired at high temperatures these minerals and oxides melt, to form a protective and decorative layer, on the surface of your pottery. Glazes can be applied in various ways, from brushing to dipping, and can determine the colour and textural finish of your pot.

Shelves in the studio full of lovely student bisque and glazed work
Kiln
A kiln is a furnace or oven-like structure used in pottery to fire clay objects at high temperatures. Kilns are essential equipment in the pottery-making process as they are responsible for transforming raw, squishy or brittle clay into durable, finished ceramic pieces. Students often ask me if they can fire their pieces in their oven at home – a question I’m sure I had once upon a time. Unfortunately though, unless your oven goes to 1000 degrees, the short answer is no.
Bisque Firing
Before glazing, your pottery goes through a bisque firing. That is to say that we put it into the kiln for 2 days, to reach a temperature of 1000 degrees. This initial firing process transforms the clay into a hard, porous state, making it ready to absorb glaze.
Glaze Firing
Once glazed, your pottery undergoes a glaze firing, where it’s heated to a high temperature to fuse the glaze to the surface of the piece. During this second firing, the kiln temperature rises to 1245 degrees. This transforms the glaze from a dry paint consistency into a smooth, glassy finish, completing the pottery-making process

Potters in a studio preparing clay and gathering tools
Delving into the world of pottery can really feel like stepping into a new language for beginners. Our hope is that breaking down these terms can give you a roadmap to navigate the creative process with confidence.
This post is the first of its kind but we will continue to explain pottery jargon to empower you to make informed decisions at every stage of your pottery journey. Our pottery community at Bisque thrives on inclusivity, embracing all levels of expertise and fostering a supportive atmosphere where curiosity and exploration can flourish.
Author: Ríona Mowlds – Artist, Teacher & Studio Tech