If you’ve ever thought about taking a 6 week pottery term course, you might have wondered what actually happens to your work after you finish making it.
Why does it take weeks before you can take your piece home?
Ceramics moves at a slower pace than most crafts, but that’s kinda part of the magic. Clay transforms through several stages before it becomes a finished piece. In a pottery term course, you’ll experience the full journey from soft clay to a glazed ceramic you can use every day.
Here’s how it happens.
Shaping the Clay: Wheel Throwing and Handbuilding
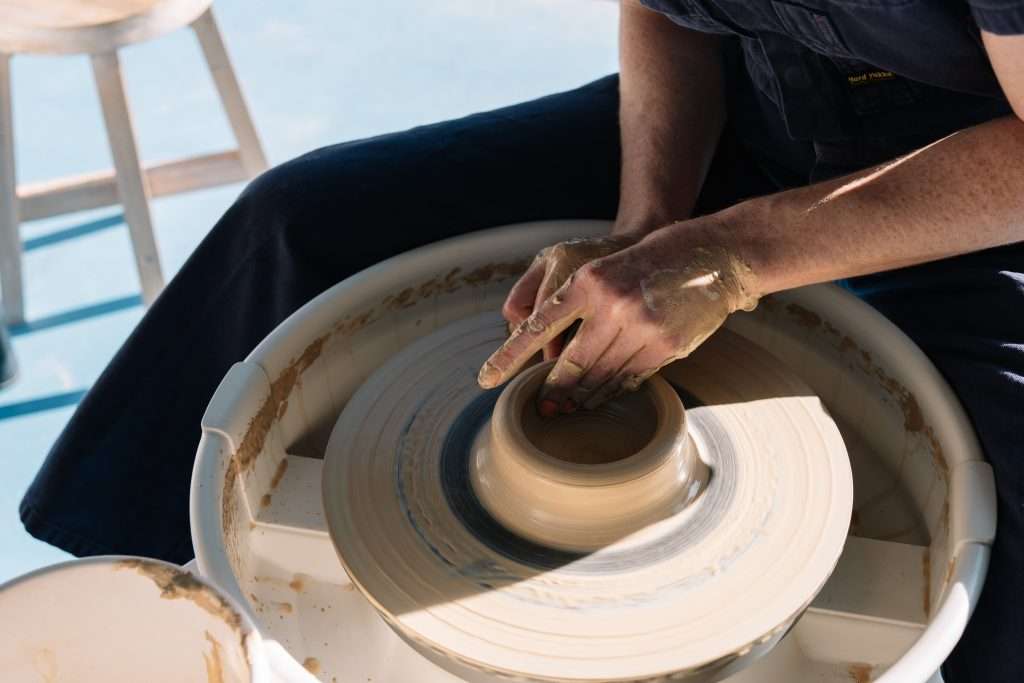
The first stage is shaping your piece.
In a term course this usually happens in one of two ways:
Wheel throwing – where clay spins on a wheel and is shaped into forms like cups, bowls, and vases.
Handbuilding – where pieces are formed by hand using techniques like pinching, coiling, and slab building
Both approaches start with soft clay and allow you to create functional or sculptural forms. Beginners often start with simple shapes while they get used to the material.
At this stage, the clay is still very soft and fragile.
Drying: From Wet Clay to Leather Hard
After shaping, pieces need time to dry slowly.
Clay moves through several stages as moisture leaves the material:
-
Wet clay
-
Leather hard (firm but still workable)
-
Bone dry
Most finishing work happens when pieces reach the leather-hard stage, usually about a week later.
Refining: Trimming and Finishing
Once pieces are leather hard, they can be refined.
For wheel-thrown work this often involves trimming, where excess clay is removed from the base to create a balanced form.
For handbuilt pieces, this stage might include:
-
Smoothing surfaces
-
Carving or adding texture
-
Attaching handles or decorative elements
This is often where pieces begin to feel finished and personal.

Bisque Firing: The First Kiln Firing
Once pieces are completely dry, they go into the kiln for their first firing, called a bisque firing.
The kiln heats to around 1000°C, transforming fragile clay into ceramic. After this firing, the work becomes stronger and easier to handle while still remaining porous.
That porosity is important because it allows glaze to bond to the surface.
Glazing: Adding Colour and Surface
After bisque firing, pieces are ready to be glazed.
Glaze is a liquid mixture of minerals that melts in the kiln to create colour, texture, and a glass-like surface. Students may dip, pour, or brush glaze onto their pieces depending on the effect they want.
At this stage the glaze often looks pale and chalky. The final colours only appear after firing a second time.
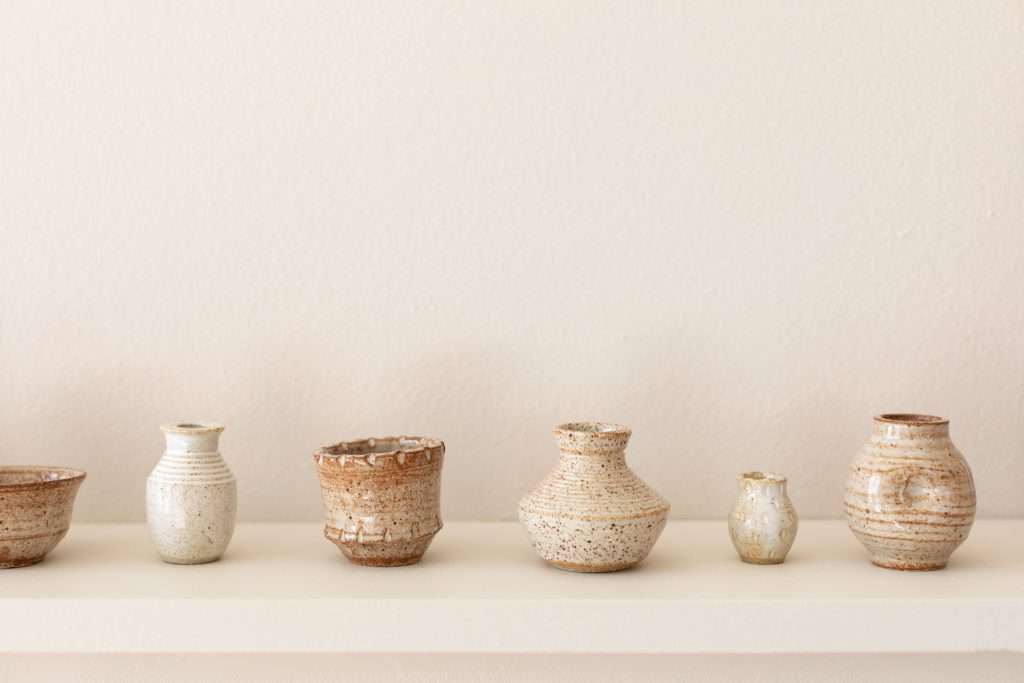
Final Firing: The Kiln Reveal
The final step is the glaze firing.
During this firing, glaze melts and fuses to the ceramic surface. Once the kiln cools and the door opens, students get to see their finished work for the first time.
This kiln opening is often one of the most exciting moments in the ceramic process.
Curious to Try It Yourself?
Because pottery involves drying and firing stages, the process naturally unfolds over several weeks. A pottery term course gives you the time to practice new skills while following your work through every stage, from shaping the clay to the final kiln opening.
If you’ve been thinking about trying pottery, a weekly class is a great way to experience the full ceramic process.
Explore our upcoming 6 week term courses and start your own journey from clay to finished piece.